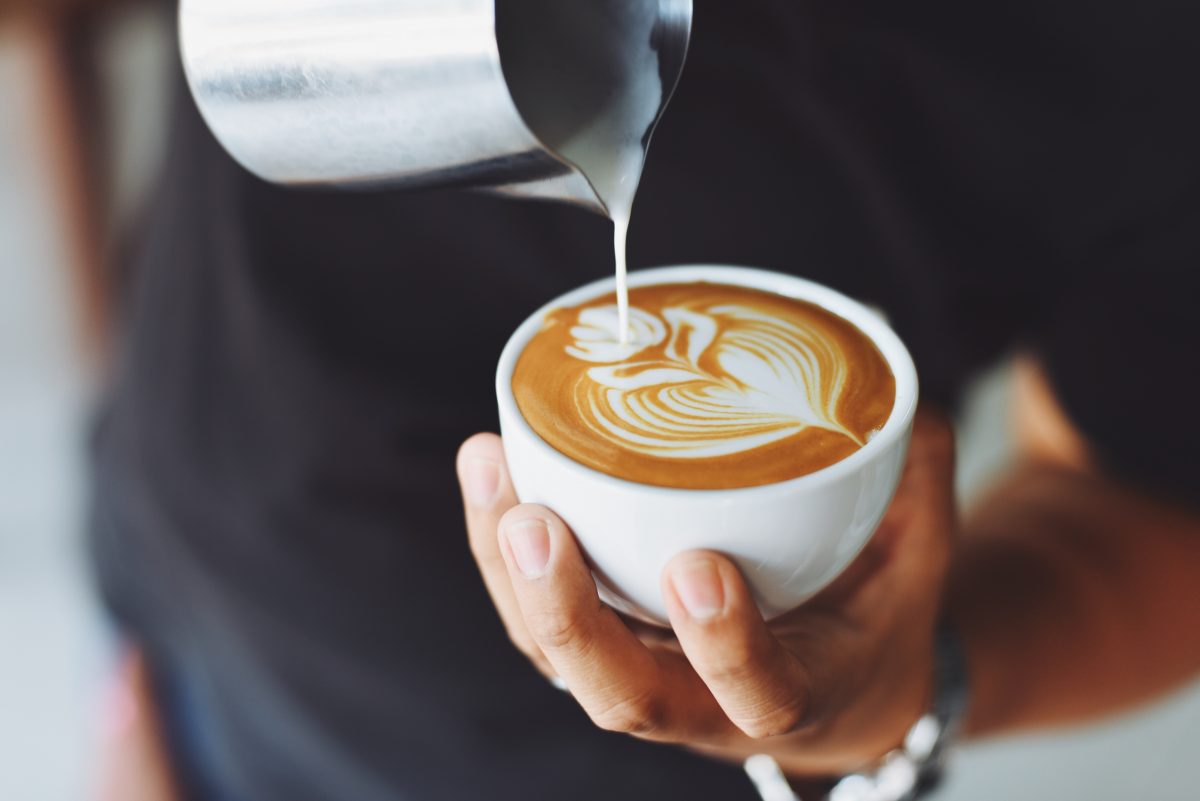
Latte art: the beautiful designs made in espresso beverages that highlight the contrast between the white milk, and the dark espresso.
The trend started around the 1980’s and 1990’s, and latte art has been a growing trend in the professional cafe business, and home barista. The chances are, if you frequently go to a cafe, you’ve had one of these masterpieces perched atop your latte at one time or another.
But, making these pieces of art is not a simple cakewalk, it requires that the barista pull seemingly perfect espresso shots, and steam gloriously smooth, velvety milk, something that can take a short while to master.
 And on top of that, getting the technique down can feel like it takes forever to really get the hang of.
Latte art is something I have struggled with for a while before finally getting a moderately decent Rosetta most of the time.
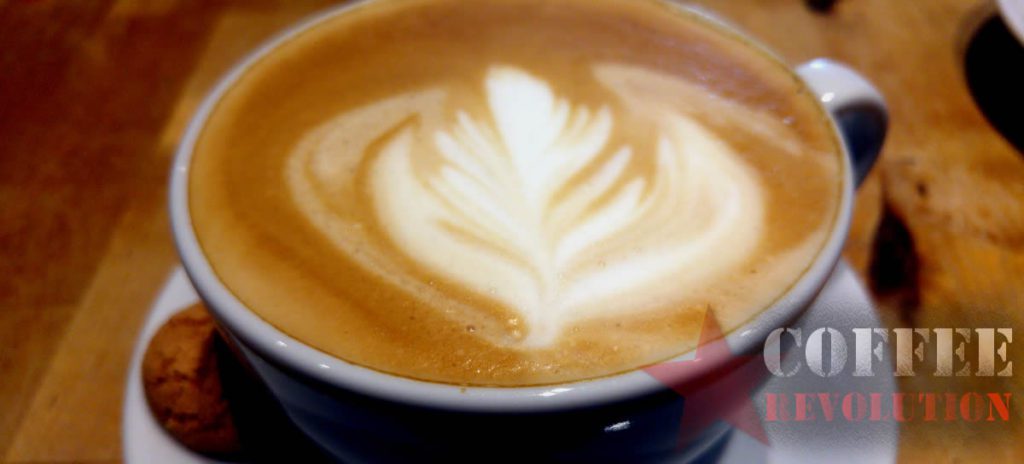 To start, you will need an espresso machine that is in perfect working order, your chosen coffee, milk (whole milk is the easiest one to use when making latte art), and a steaming pitcher.
Pretty much everything you would need to make a traditional latte, and some patience.
Watch the video below a few times before trying yourself, then rewatch it afterwards.
This is where things can get tricky, depending on the espresso machine.
Professional machines with two broilers
If the machine contains two broilers, and is able to steam milk and pull shots simultaneously, then this process is much easier, as neither the milk nor espresso shots would sit and wait for the other to finish up.
One broiler and budget machines
If the machine being used has only one broiler, it is best to steam the milk first, and then pull the double shot of espresso.
How to steam milk for a leaf design.
As long as you keep making a swirling motion with the srteam wand in the milk, similar to mixing something with a whisk, the microfoam should stay evenly incorporated.
A figure of 8 works well for many people but I find swirling the milk jug helps and raising and lowering the steam want will adjust the size of bubbles created.
To steam the milk, do as you normally would for a latte, try to turn most of the milk into foam and focus on small bubbles – the microfoam is critical to having a good pour.
Be sure to avoid overheating the milk, it will taste sweet and slightly burnt if you’ve overdone it.
The aim is to create a creamy texture with milk full of tiny micro bubbles.
Aerate the milk in such a way that it makes a slight paper ripping sound just below the surface of the milk, for about 3 to 5 seconds, but the milk may require more or less time depending on the espresso machine.
Place a hand on the bottom of the pitcher to help gauge the temperature of the milk; once it is too hot to hold your hand on it for a second or two, it will be around 150 degrees Fahrenheit, and should resemble wet white paint.
The goal is the have as little bubbles as possible, but if there are a few bigger ones, tapping the pitcher on the counter top can pop them with ease.
If the machine being used has one boiler, prepare the espresso shots before steaming the milk, and then as soon as the milk finishes, allow some pressure to escape the machine, and then pull the shots.
During this time, swirl the milk in the pitcher to keep the microfoam from separating.
Once the beautiful espresso shots are pulled into the mug, take the mug and pitcher in hand, and prepare for the most stressful part of the process: making a Rosetta.
Hold the mug at an angle, and from a fair distance above, smoothly pour the milk in a circular form, taking care not to go too fast.
Once the mug is half full, cut the flow of milk, and then put the pitcher closer to the mug, and wiggle it back and forth, making the side to side wiggles less and less far apart as you pull the pitcher closer to you.
If done right, you will see the lovely pattern sitting on top of the latte.
Flat white leaf designs and variations
One of the most recognizable designs is the leaf as demonstrated in the video above.
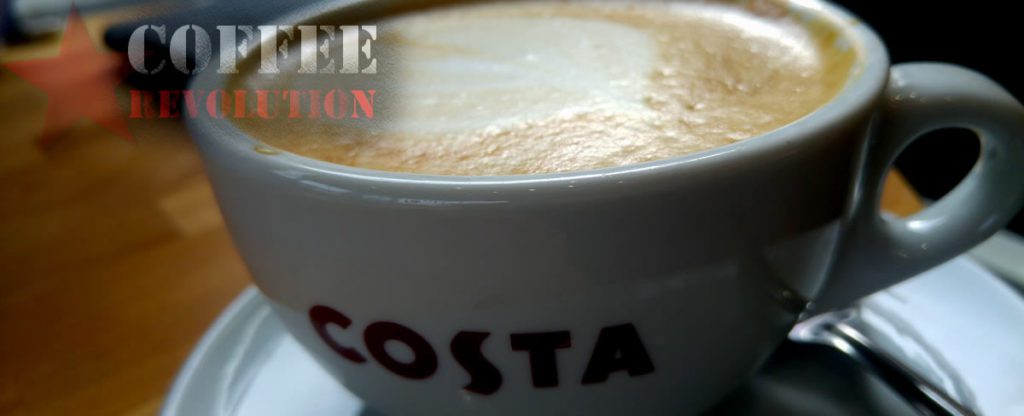
See the image below, and it shows an awesome leaf design with a very good flow pattern, it’s not perfect but even the simplest swirls and designs can look very effective.
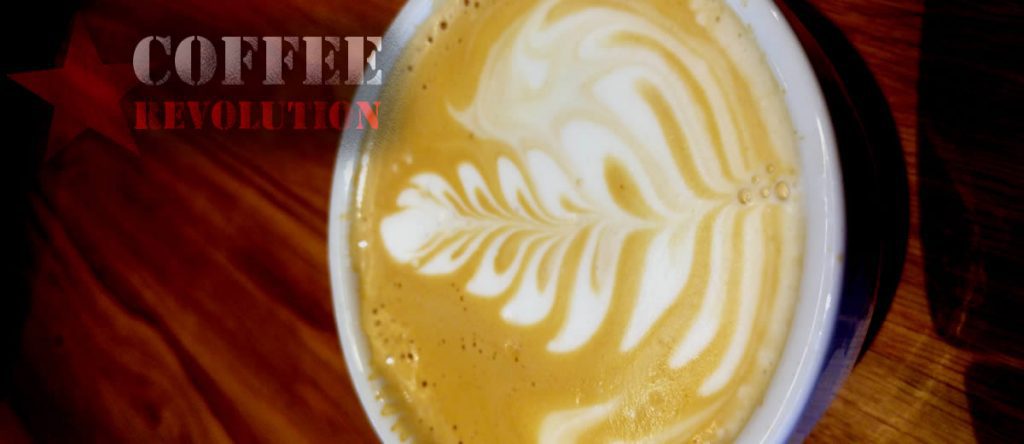
A heart and peacock design, can be created by changing the swirl mid way through. Dragging through the milk can also adjust the shape and texture.
In the image below the milk had large bubbles which have affected the smoothness of the finish.
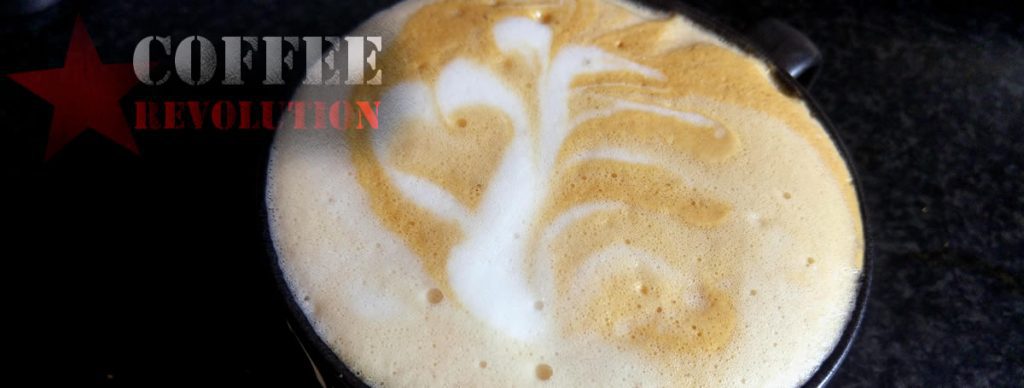
A stunning lotus flower or heart design can also be created, we’ve seen rings of hearts around the cup and other designs.
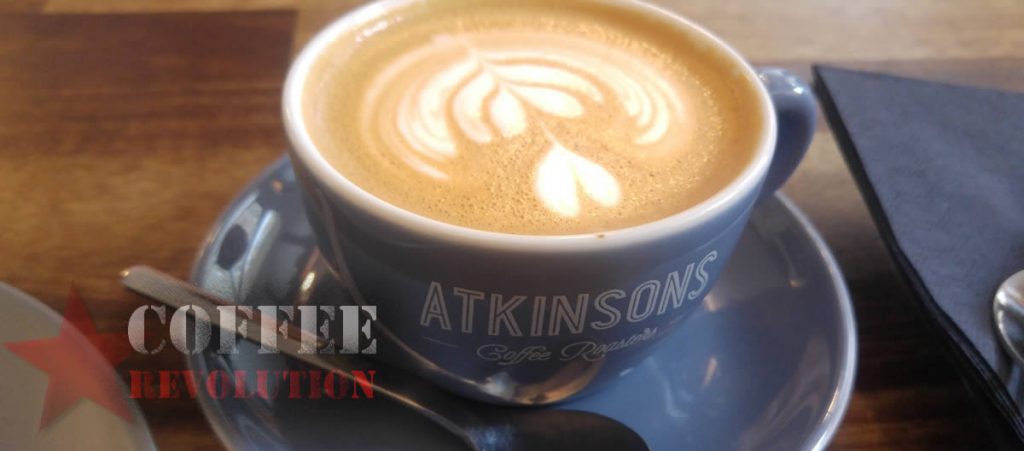
Keep practicing and you’ll get there, the heart design is probably the easiest, but once you’ve mastered the basic leaf design you can start to create further variations and expand the theme.
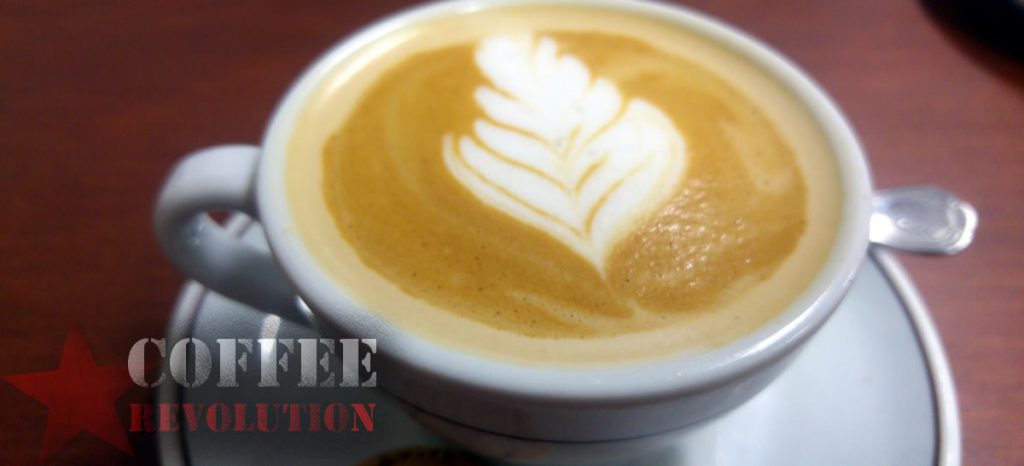
The pour and flow with a wiggle once mastered is a skill you have aquired for life and is well worth persevering and practicing.
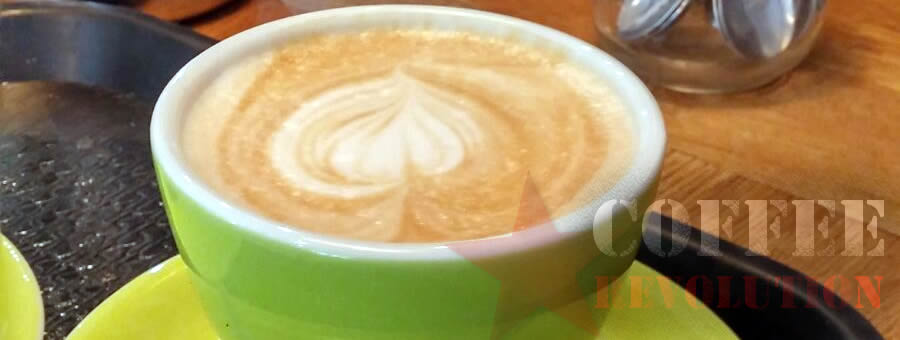
This technique can take a long time to really get good at, and do consistently, but do not get discouraged, as practice does indeed make perfect when it comes to latte art.
Branching off of normal free-poured latte art, there are some artists that can make 3D shapes using extra stiff foam, and even etch pattern onto a design as well, resulting in very unique designs that have before, made me feel bad for drinking them!
