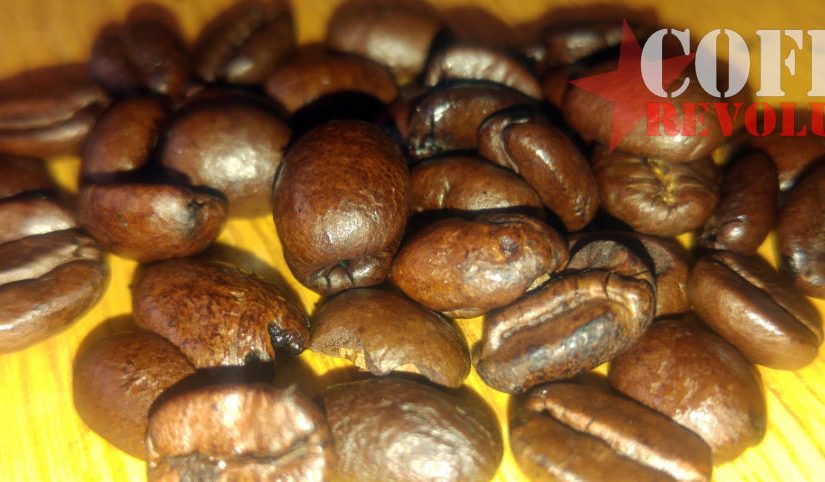
Coffee Roasting Process
If this is your first attempt at roasting coffee, then this post is definitely for you. In this section, we will give a detailed step-by-step guide on how to effectively roast your coffee beans for great tasting coffee.
Roasting coffee at home can be as fun and easy as you want it to be. You can easily roast your coffee beans in your oven, skillet or even a popcorn popper!
Whichever appliance you choose to use, you will have great-tasting coffee at the end. The aim of this piece is to serve as the total guide to roasting coffee while highlighting the different types of coffee roasts.
If you have made popcorn on your own before, then roasting coffee beans should come easily to you as the processes are quite similar and you can even use a pop corn roaster for your coffee beans.
The coffee roasting process mainly involves the sorting of the coffee beans, roasting, cooling and packaging. It can also include grinding if done on a large scale basis. During this process, the coffee, beans lose about 28% of their overall weight due to water loss but are doubled in size due to the removal or release of carbon(iv)oxide gas and other volatile compounds.
To roast coffee manually, you need the following equipment;
- Kitchen scale
- A timing device
- Thermometer
- Cooling Rack
- Roasting Pan
- Airtight container for storage
- Large funnel
Step1: measure out the number of beans needed and leave enough room for the beans to expand to about two times the original size and pour into your roasting appliance (could be your pop con maker!)
Step2: turn on the heat. You can preheat your roaster before adding the beans or start with the coffee beans already in the roaster. Either way, you will get great results.
Step3: Stir your beans using a wooden spoon, or shake the pot to ensure the heat is evenly distributed throughout the beans.
Step4: watch and smell! This is the point where you do not take your eyes or concentration away from your beans. Listen for the crack sounds and watch for the colour changes. This will help you know when your coffee beans are ready based on the kind of roast you want. Once your beans have your desired colour or smell, then it’s time to remove the pot from heat and begin cooling by pouring them into your cooling rack or roasting pan.
Step5: place your roasting pan containing the coffee beans slightly under a small fan and just shake off gently to remove any debris or chaff. While cooling, you have to be careful not to place cooling rack containing the coffee beans directly under the fan to avoid the beans flying out alongside the chaff.
After cooling, you should allow the coffee beans to rest in a slightly open container for about 5 hours before transferring them to an air-tight container for about a week. And you’re done! Depending on the kind of roast you prepared, you can then choose a suitable brewing method and go on to enjoy your cup of coffee.
We have more information on the types of roast and the roasting cracks you should listen out for here.

